Set up your Nourish Provider Portal
The majority of your day-to-day work will occur within the Nourish Provider Portal, which can be accessed here. Bookmark the link because you’ll be using it so much!
You will go through a full training on the Provider Portal later on. This training will focus on setting up your Provider Profile.
To start, log in to the Provider Portal using your Nourish Gmail. You can access the provider portal here. On the login page, you have two login options.
You can enter your Nourish Gmail address, and you will receive a 6-digit code sent to your Nourish Gmail. Always use the most recent code to log in.
Set a password by clicking “Forgot or need a password?” on the login screen to create one. You can then log in using your password.
Once logged in, head to the “Settings” tab to complete your Provider Profile. Here, you will customize your settings that influence our patient matching and scheduling algorithm.
Customizing your Provider Profile
Upload a profile picture, which will be visible on the Nourish website and app
Update the following sections of your provider bio by selecting "Edit Provider bio"
About (A summary of your background and experience as a dietitian)
Approach to care (Explanation on how you approach treating patients)
What to expect in your first session (Overview of how you approach the first session)
Education, Hobbies, & Location
Post-nominals (If your post-nominal is not shown, email onboarding@usenourish.com)
Specialties - Patients have the ability to search by keywords on our website, so we highly encourage listing any specific specialties and certifications you have within your bio, in addition to selecting specialties.
Spend time on your provider bio — a high-quality profile increases sessions scheduled! Take a look at the provider page on our website for examples of provider bios.
Select your specialties
Patients select their primary and secondary concern(s) in the sign up flow, and are then matched with dietitians who most closely match their selected specialties and who have availability. All dietitians are required to select their specialties within the Provider Portal.
Currently, providers and patients are only matched based on the main specialties, not the indented subspecialties, so make sure to select enough relevant main specialties!
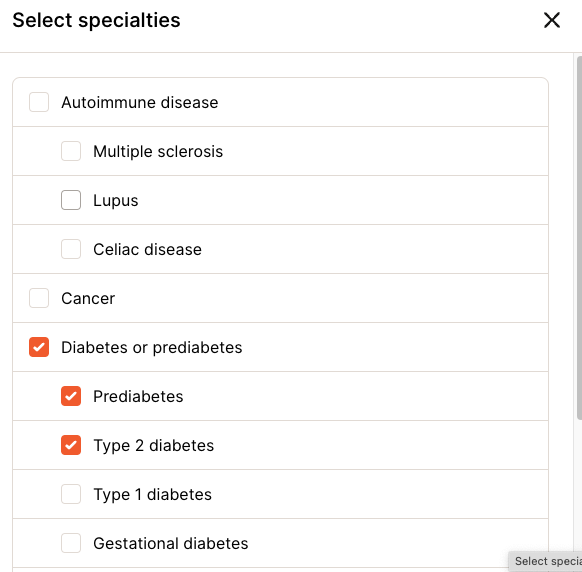
Choose only specialties that you have a proven history of effectively treating and that you feel comfortable with. There’s no exact number you should aim for, but generally, you should only have specialties listed if you would be able to provide great care to a patient who came in needing help with only that specialty.
Be sure to select some specialties as 2-star specialties. These should be the specialties that you are a true expert in, and have seen lots of patients with before.
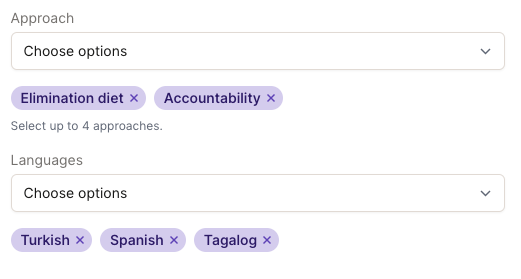
Select your Approaches and Languages
In addition to matching on specialty, patients may pick specific providers based on their approaches and spoken languages. To optimize patient matching, complete the following:
Approaches: Select up to four approaches that represent your counseling style.
Languages: Select languages you speak fluently.
If you speak a language not listed in the dropdown, reach out to onboarding@usenourish.com!
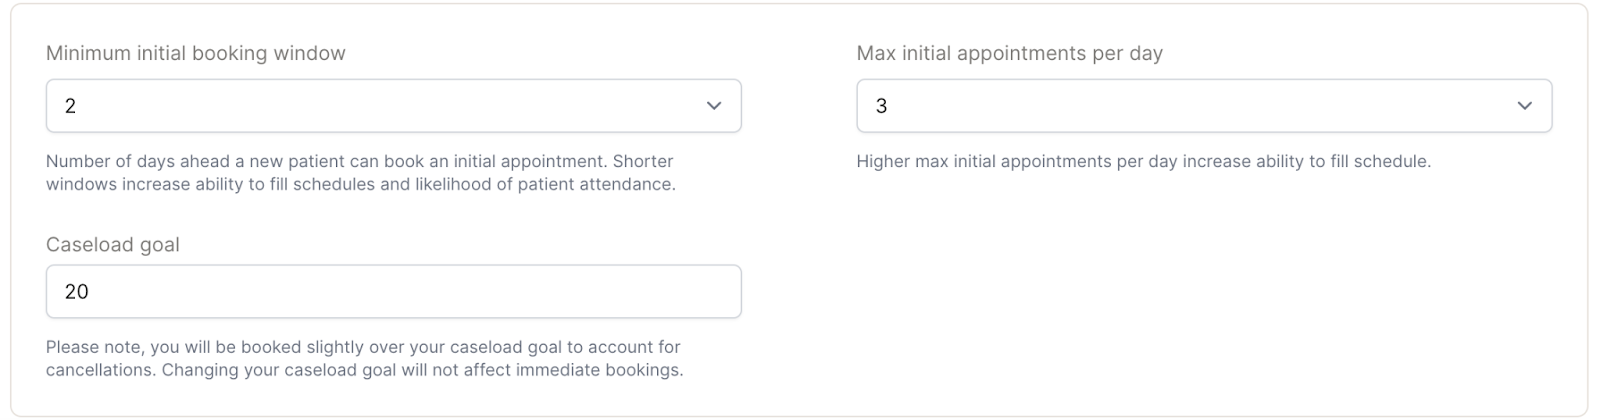
Set your Schedule Management settings
On the Schedule Management tab, customize the following three selections as desired:
Minimum initial booking window (Setting to “1” allows patients to book next-day)
Caseload goal (How many appts you want to occur in a given week)
Max initial appointments per day (Only accounts for initial appts, not follow-ups)
Upload your licensure
Ensure you have your NPI & CAQH ID on the website (used for backend claims purposes only; not visible to patients)
Upload your state RD licenses
All active state licenses must be added to the Provider Portal to enable scheduling with patients residing in states that require specific licensure
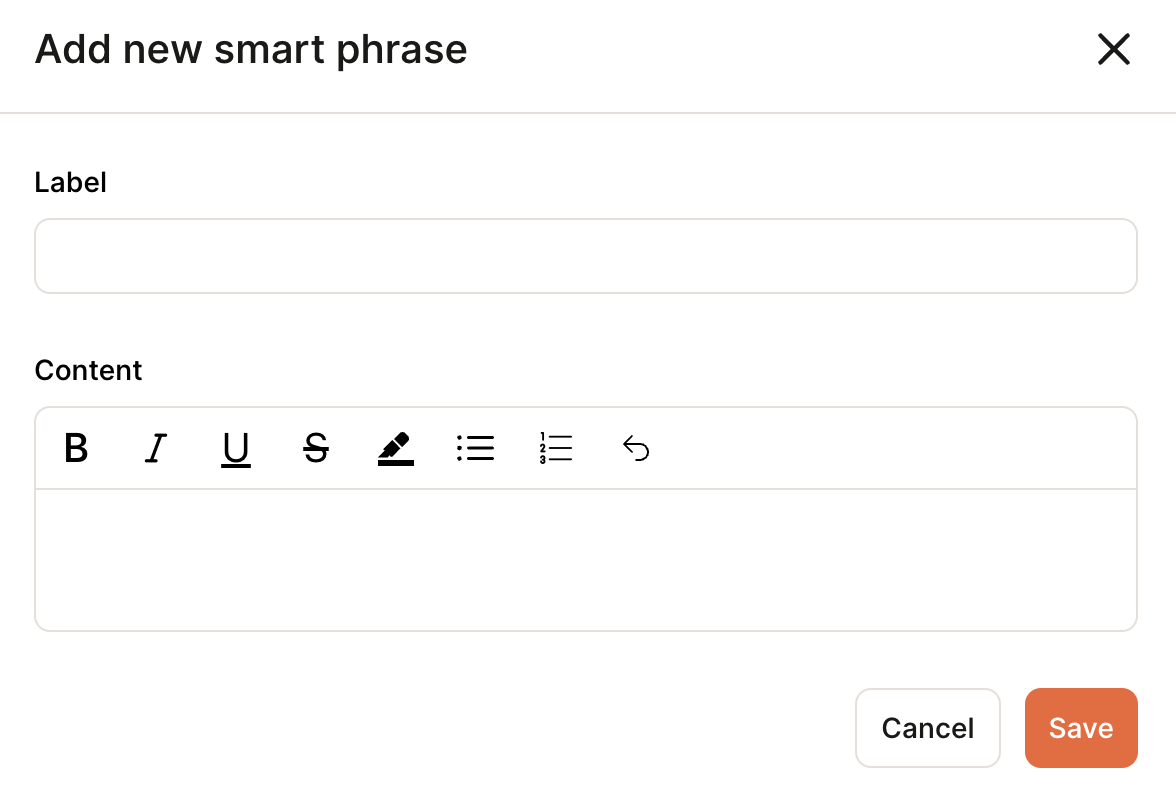
Set your Smart Phrases
Smart Phrases are a great way to speed up and organize your charting. These are used to generate personalized templates to expedite the charting process, instead of manually typing ouot repetitive information
Simply type a "/" symbol and the desired Smart Phrase label, and your Smart Phrase text will automatically appear in your chart note
Default phrases will be added, and can be edited or deleted based on your preferences
You can also create new smart phrases