
Syncing Your Calendars
On 3/2/2026, we updated our Google Calendar integration. See this announcement for details on what changed and why you will need to re-authenticate.
📅 Upgraded Google Calendar Integration
What's new: We rebuilt our Google Calendar sync. It's faster, more reliable, and protects patient info.
What to do: Reconnect your Nourish Google Calendar on the Calendar page of the Provider Portal.
Why it matters: Patient names are no longer visible in Google Calendar event names pushed from Nourish. The sync is also faster and more reliable.
How the sync works:
Nourish → Google Calendar — view appointments alongside personal calendar events
Google Calendar → Nourish — block appointment availability
One thing to know: You will see two calendars in Google Calendar. Use
Nourish Appointmentsmoving forward.The
Nourishor{Your Name} Healthie Availabilitycalendar will work until 3/17 then be deprecated. Feel free to ignore or delete it.❓ Questions or issues reach out to support@usenourish.com
Go deeper:
Choosing the right calendar setup
Calendar syncing is entirely optional and not required to manage your Nourish schedule. This guide helps you decide which setup works best for you.
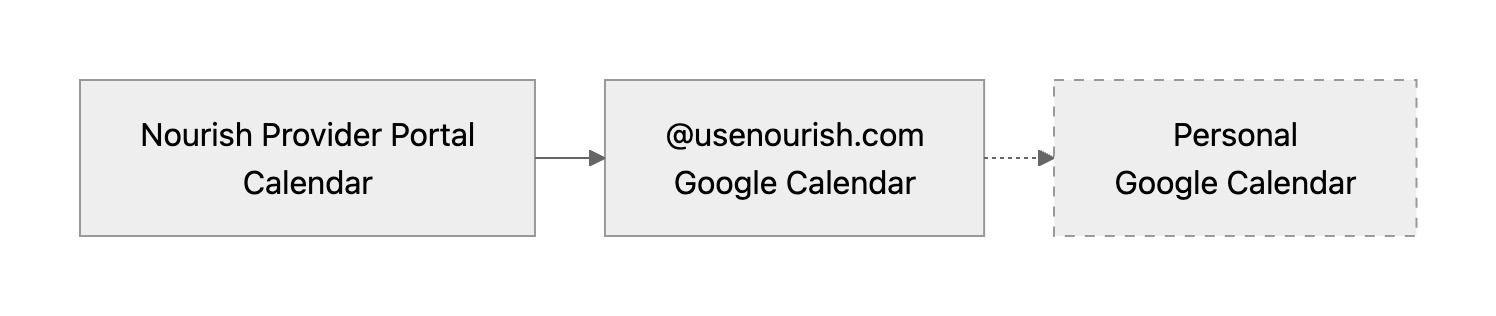
Nourish → Google Calendar
You want to view Nourish appointments on your work Google Calendar, so that you can view them in the Google Calendar mobile app or alongside other calendars.
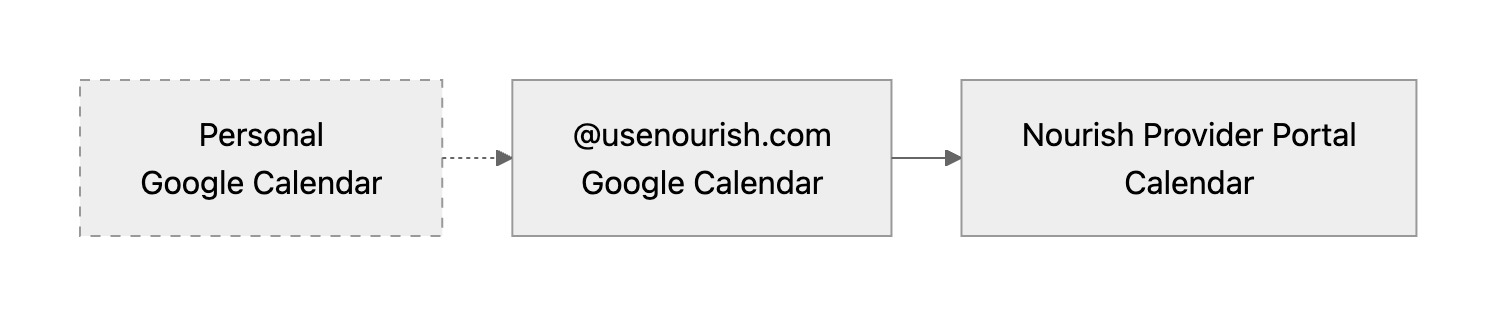
Google Calendar → Nourish
You want work calendar events (trainings, all hands, etc.) or personal calendar events (time off, family commitments, etc.) to block availability in Nourish so patients can’t book during those times.
Your personal Google Calendar
You want to either: view personal calendar events on your work Google Calendar for convenience or have your personal calendar events block availability in Nourish so patients can’t book during those times.
Nourish → Google Calendar
View Nourish appointments on Google Calendar
How to sync your Nourish appointments to Google Calendar:
Navigate to the Calendar > Settings page in your Provider Portal and scroll to External Calendars.
Connect your Google Calendar by clicking "Connect" and authenticating your @usenourish.com Google account.
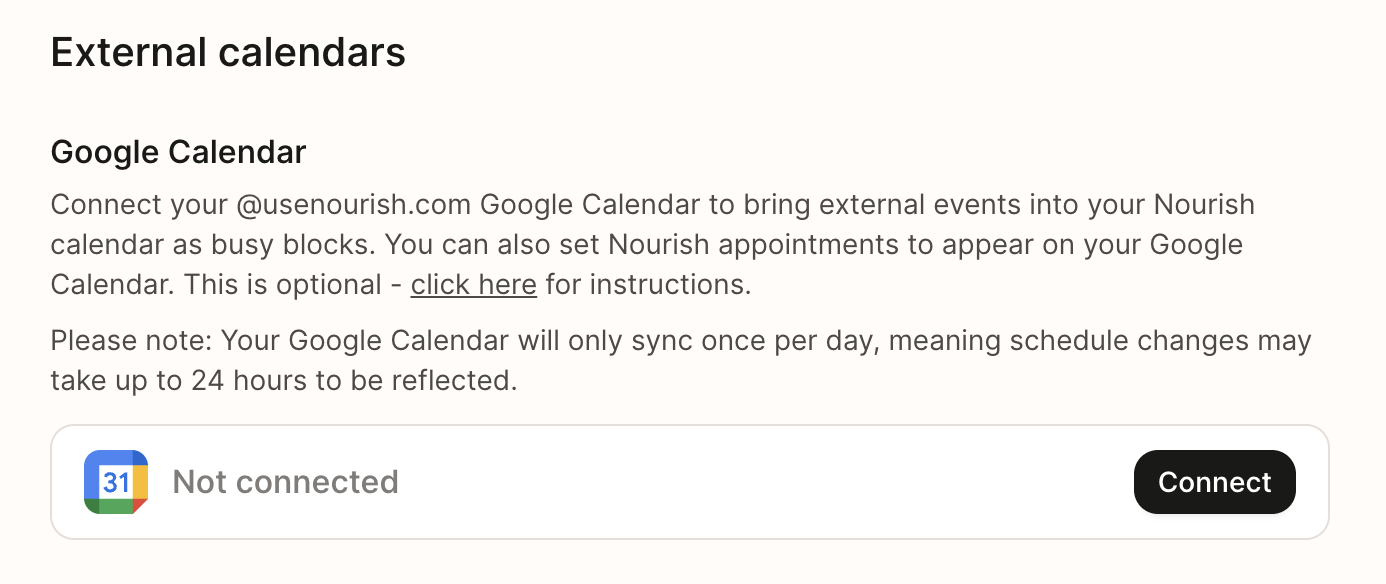
You will be prompted to authenticate your @usenourish.com Google account. Sign in and grant Nourish access to your calendar.
Toggle on "Show Nourish appointments in Google Calendar." Nourish will automatically create a "Nourish Appointments" sub-calendar in your Google Calendar and push all future appointments to it. Past appointments will not be synced.
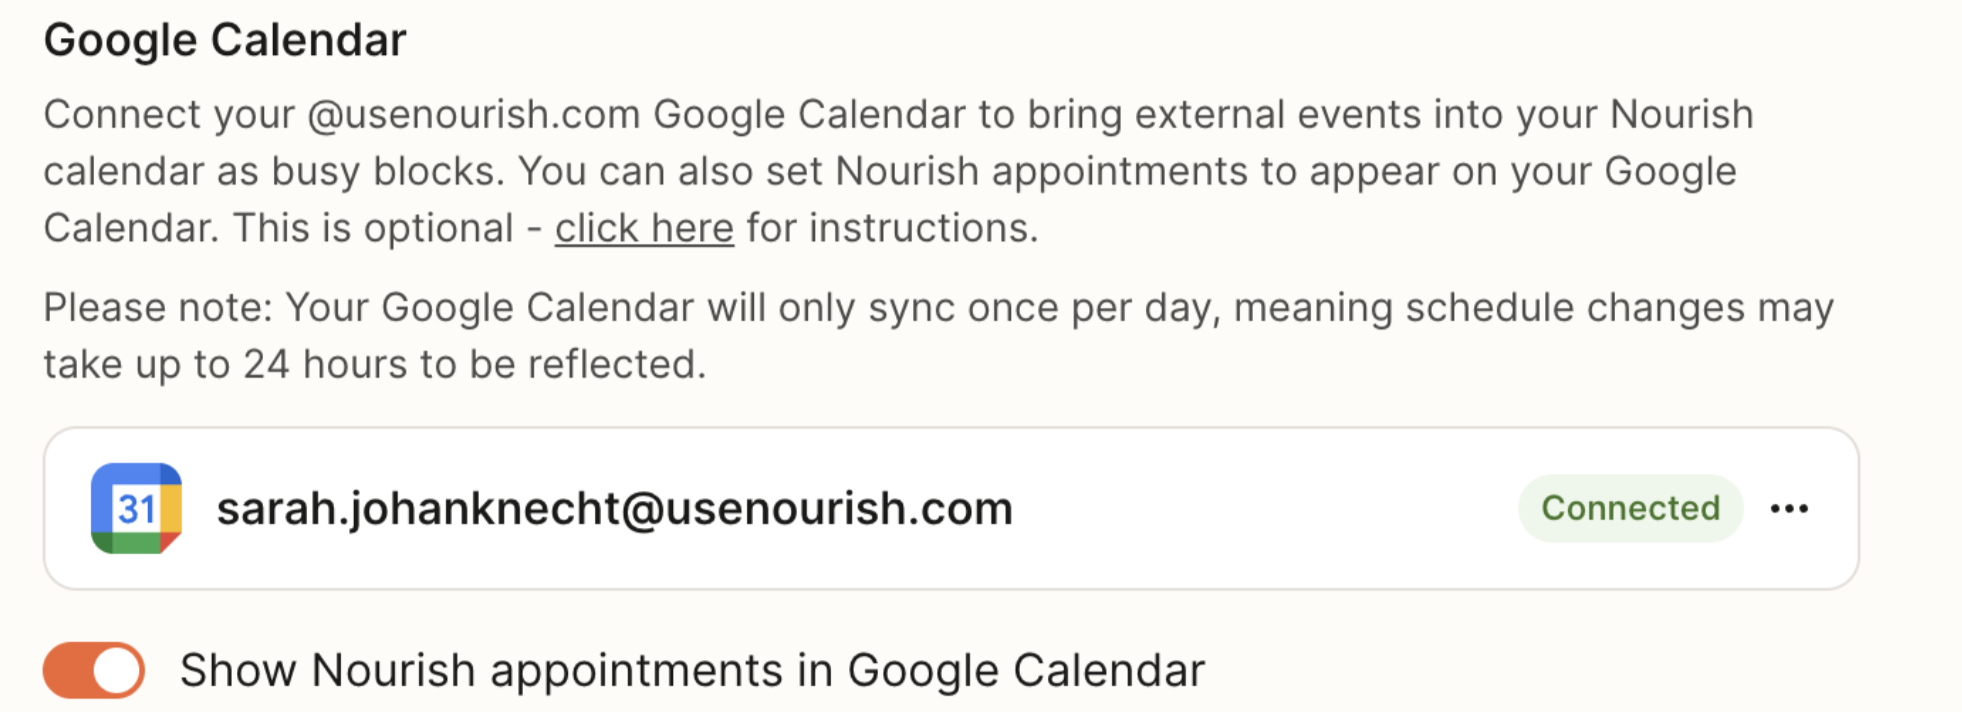
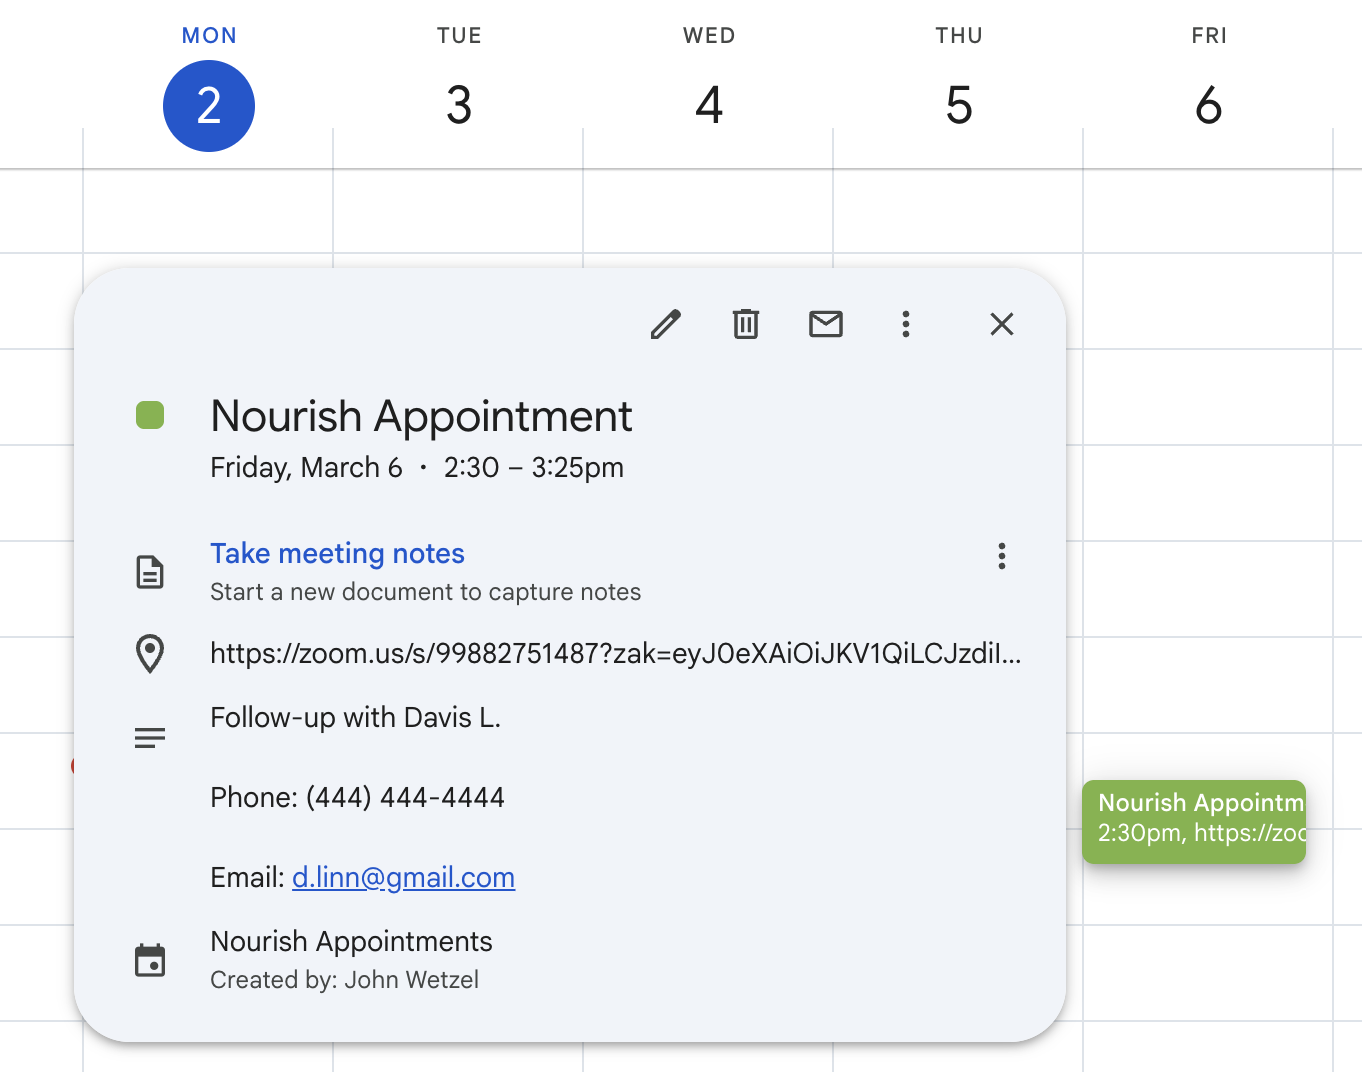
Your appointments will now appear on your work Google Calendar. All appointments are named: "Nourish Appointment." Patient details will appear in the calendar event description.
To sync these calendar events to a personal Google Calendar, follow these additional steps.
View Nourish appointments or Google Calendar on your personal Google Calendar
How to display events on your to a personal Google Calendar:
Open your @usenourish.com Google Calendar
Click the gear icon > Settings at the top right corner.
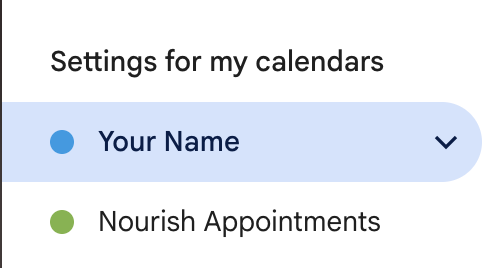
On the left menu, look for Settings for my calendars.
To sync events of your Nourish Calendar, select your name.
To sync your Appointments, select Nourish Appointments.
Follow the following steps for one or both.
Select 'Shared with'. Then click '+ Add people and groups'

Enter your personal email address. Set permissions to See all event details.
An email will then be sent to your personal email for you to approve access
Once approved, you will see your Nourish calendar or appointments as separate calendars on your Personal Google Calendar.
Google Calendar → Nourish
Blocking appointment booking availability with Google Calendar events
If you want work calendar events (trainings, all hands, etc.) or personal calendar events (time off, family commitments, etc.) to block availability in Nourish so patients can’t book during those times, follow these instructions to do so.
At this time there is not a way to sync calendar events into Nourish that do not block your calendar. All synced events will block your availability.
Navigate to the Calendar > Settings page in your Provider Portal and scroll to External Calendars.
Connect your Google Calendar by clicking "Connect" and authenticating your @usenourish.com Google account.

You will be prompted to authenticate your @usenourish.com Google account. Sign in and grant Nourish access to your calendar.
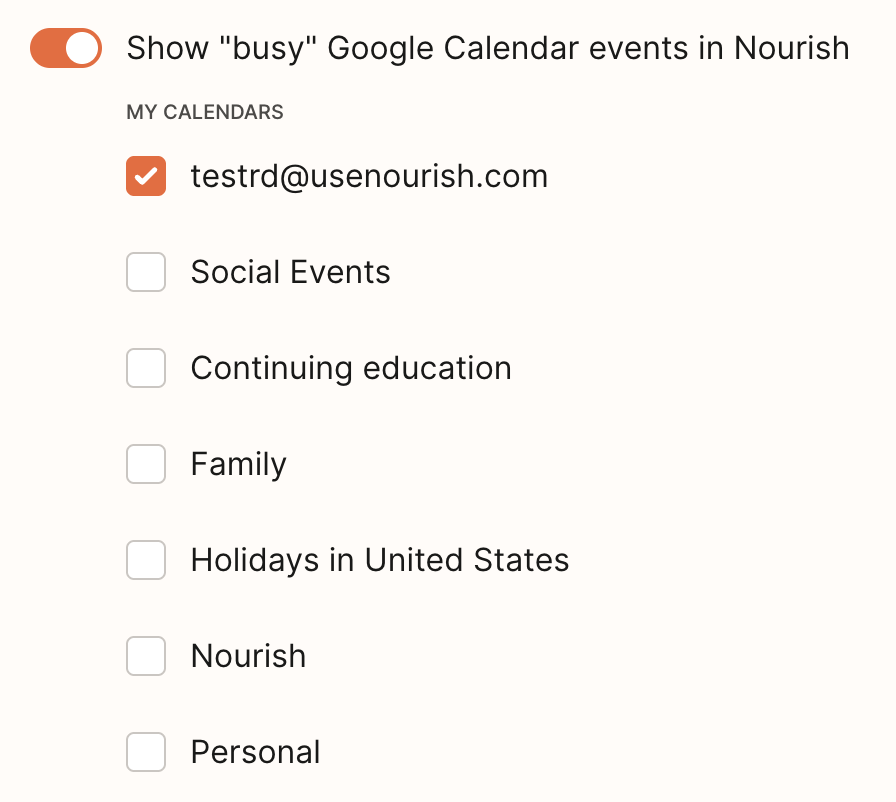
Once connected, your Google Calendar sub-calendars will appear in your Calendar Settings. Check the box next to each sub-calendar whose events should block your Nourish availability. The one with your email is your main Google Calendar.
Click Save to block your calendar. Your calendar will now be blocked anywhere where Google Calendar events are displayed.
You may turn this off at any time by toggling the setting off.
Important note: If you have synced your @usenourish.com Google Calendar with the Group Calendar added or any other calendars, all events will appear as “busy” on your Nourish portal calendar. This means patients will not be able to book appointments during those times unless you toggle "busy" off as seen in the screenshot below.
Use your personal Google Calendar to block your Nourish Calendar
If you'd like to have a personal calendar block availability on your Nourish calendar, you will first need to sync your personal calendar to your @usenourish.com Google Calendar, then follow the instructions for connecting your work Google Calendar to the Nourish Provider Portal.
This is entirely optional; your personal calendar does not need to be synced in order for your @usenourish.com calendar to be synced with your Nourish Calendar in your Portal.
To sync a personal calendar to your @usenourish.com Google Calendar:
Open your @usenourish.com Google Calendar in a separate tab
Click the gear icon at the top right to open your Calendar Settings Menu.
Click "Settings" -> "Add Calendar" -> "Subscribe to Calendar".
Under "Add Calendar", type in the email address associated with your personal calendar and click "Request Access" in the following pop-up.
An email will then be sent to your personal email for you to approve access.
Once approved, your personal calendar will be listed as a sub-calendar within your @usenourish.com Google Calendar.
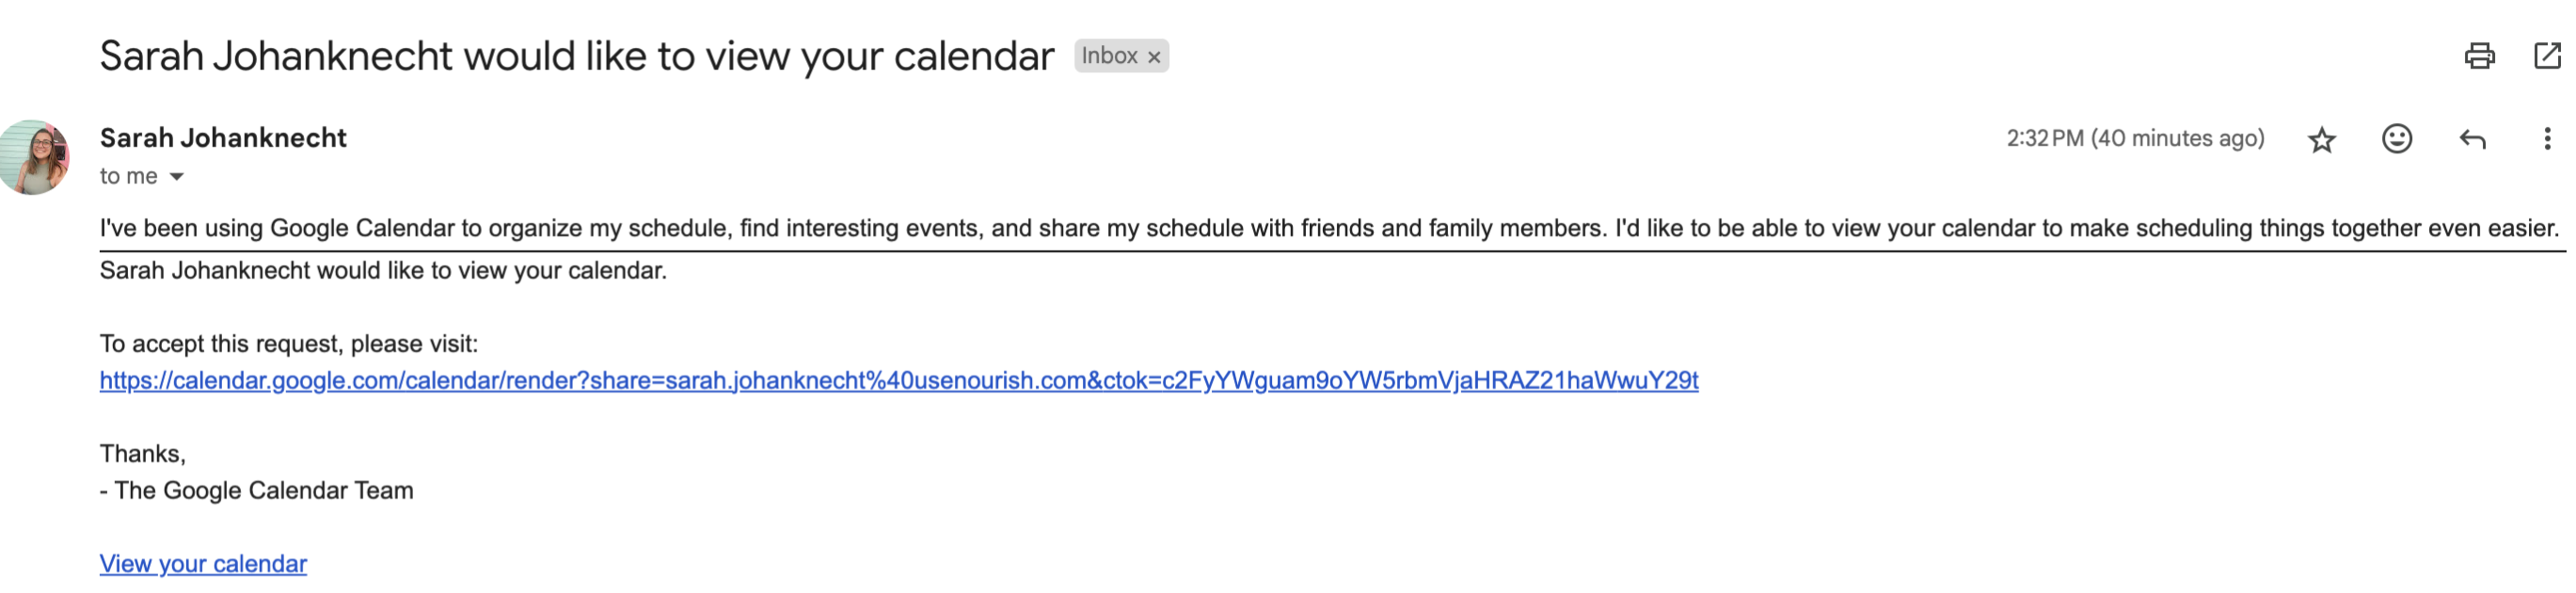
Below is a brief video demo and a screenshot of the access request email.
Additional Calendar Features
Syncing an Apple Calendar to your Nourish Calendar
While you can sync an external Apple Calendar to your Nourish Calendar, please be aware that it is only possible for your Nourish Calendar events to "push" to your Apple Calendar. Unfortunately, external limitations do not allow for events on your Apple Calendar to be pulled into your Nourish Calendar.
To sync your Apple Calendar to your Nourish Calendar, open iCal on your computer. Select File > New Calendar Subscription. You will then be prompted to enter the URL found on the Calendar Settings page of your Provider Portal. Once the URL is pasted, select Subscribe. You will then be prompted to enter a name for this Calendar (we recommend "Nourish Calendar").
As a reminder, the iCal sync is 1-Way, which means appointments in Nourish will show up as events in iCal, but iCal events will not show up in your Nourish Calendar.
Disconnecting your Nourish Google Calendar from your the Nourish Provider Portal
To disconnect your @usenourish.com Google Calendar from your Nourish Calendar:
Step 1: Disconnect from Provider Portal:
Navigate to the Calendar > Settings page within your Provider Portal.
Scroll down to External Calendars.
Under Google Calendar, click "Disconnect".
Read the pop-up thoroughly, then click "Disconnect" again.
The following pop-up will confirm the disconnect was successful and will prompt you to delete your Nourish Calendar from your @usenourish.com Google Calendar.
Step 2: To delete the "Nourish" Calendar from your @usenourish.com Google Calendar:
Open your @usenourish.com Google Calendar in a separate tab, then scroll down to view My Calendars on the left-side banner. Click the three dots next to the "Nourish" calendar, then click Settings and Sharing. Scroll to the bottom of the Nourish calendar settings page and click Delete -> Permanently Delete under Remove Calendar. After deleting, your "Nourish" calendar should no longer be visible under My Calendars.